Step 1:
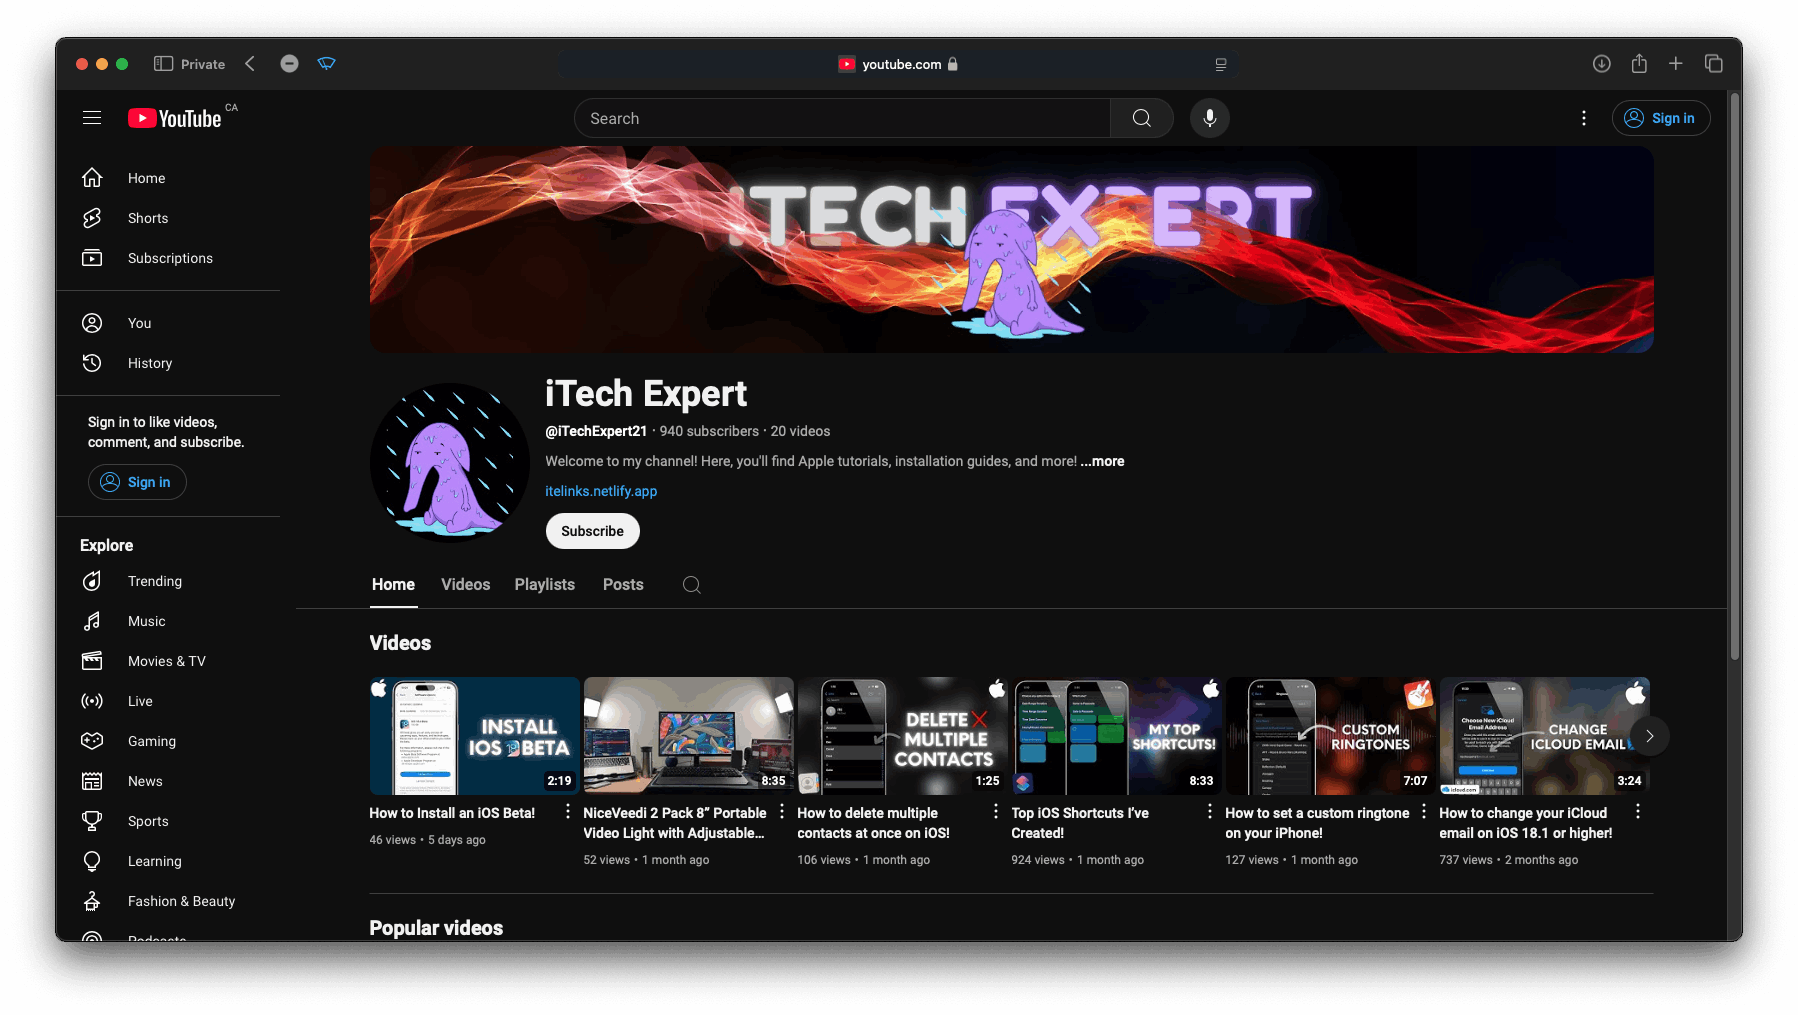
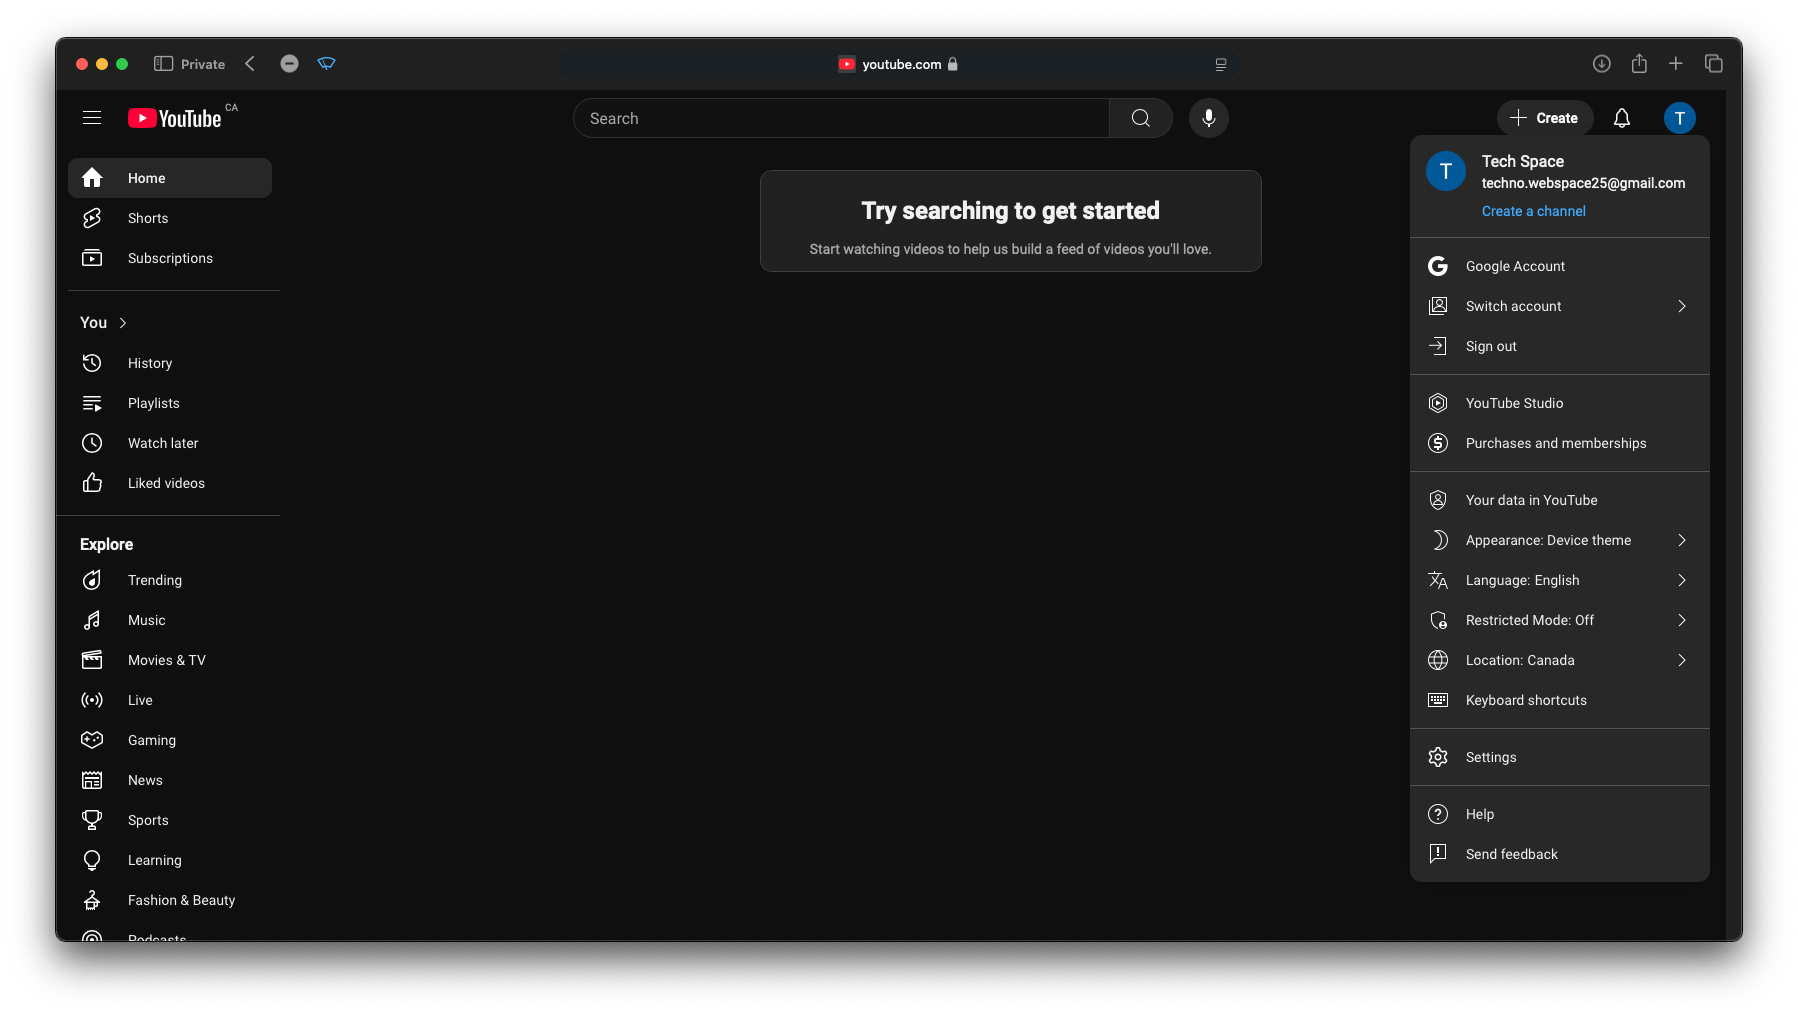
Go to youtube.com and sign in with your Google account. Click on your avatar in the top-right corner, then select "Create a channel."

A step-by-step guide to help you start your own YouTube channel
Go to youtube.com and sign in with your Google account. Click on your avatar in the top-right corner, then select "Create a channel."
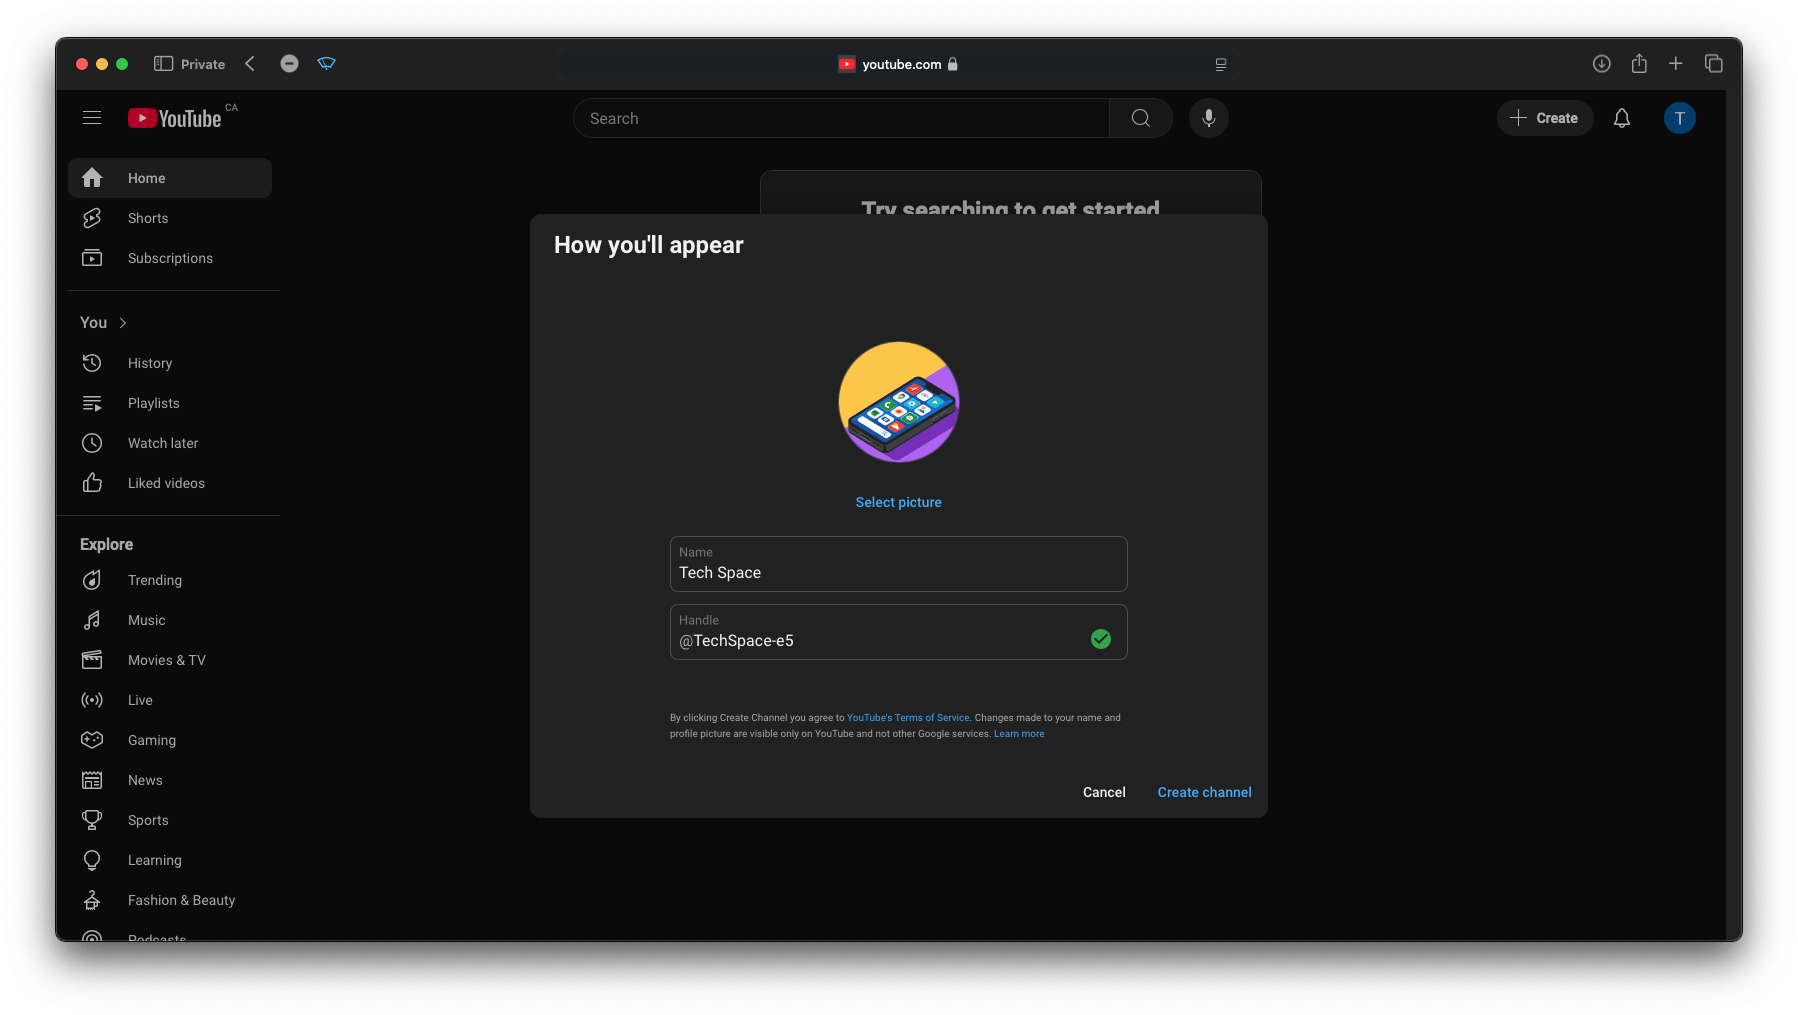
Let’s get started by creating your channel! Choose a unique name and a custom handle, design a channel profile picture, and let your creativity shine! :)
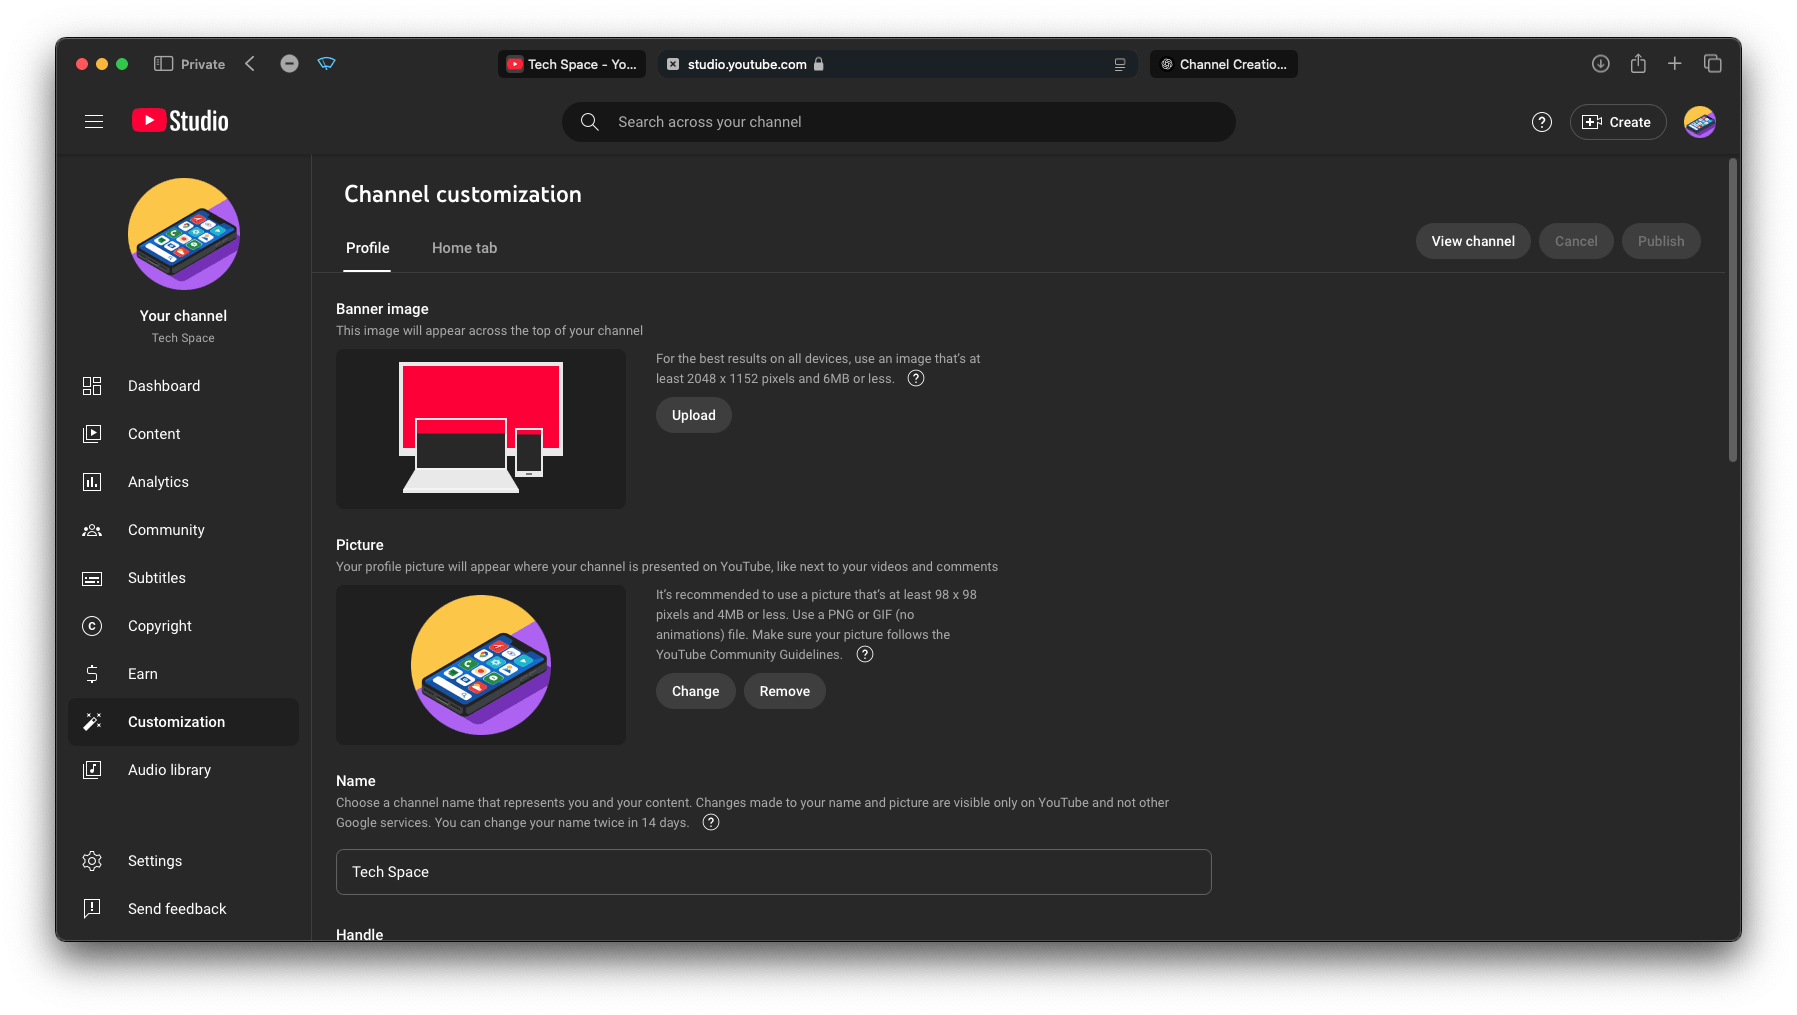
Time to customize your channel! Let’s update the channel description, add a channel watermark, design the banner, and more!
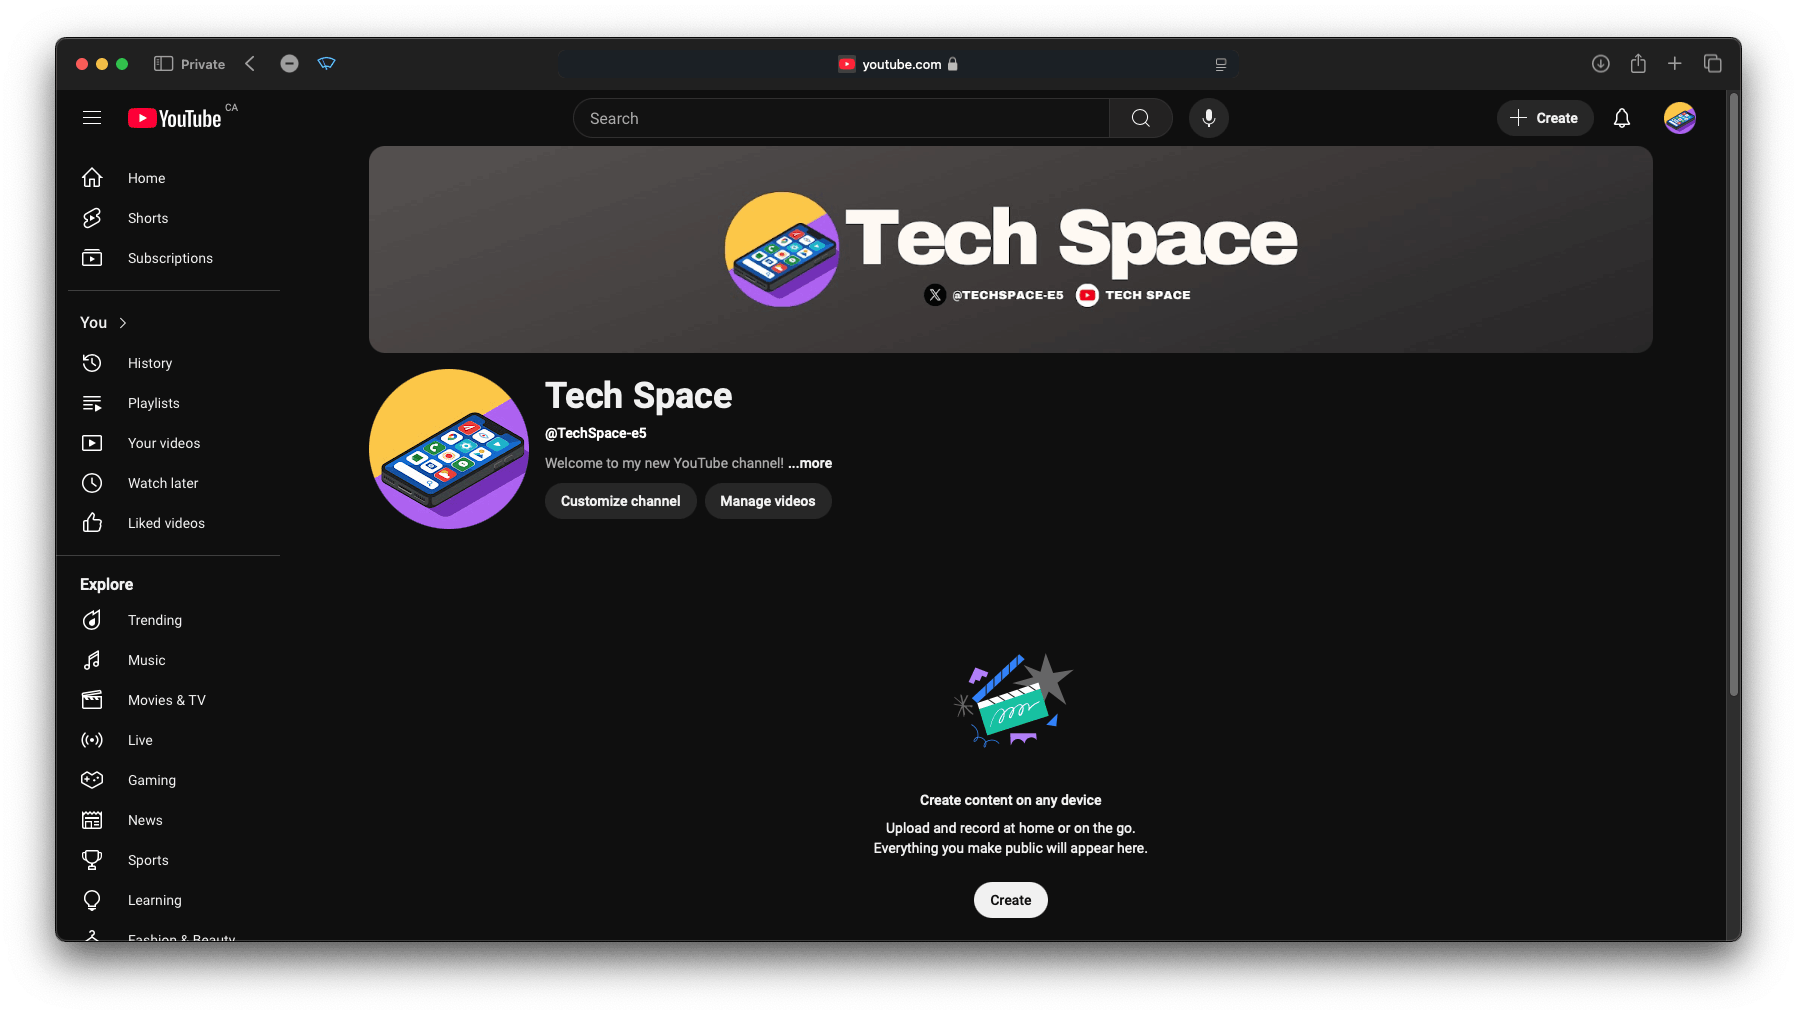
Once your channel is created, simply click 'Customize Channel,' then go to the 'Profile' section. From there, you can start personalizing your channel settings! Update your channel description, change your banner and profile picture, add important links, and more!
Your channel is now fully set up! Now, move on to step 5 and start uploading your videos!
Time for your first upload!
Once you've customized your channel and are ready to upload, click 'Create' in the top-right corner, then select 'Upload video.'
On the upload screen, simply drag and drop or select your video to start the upload! While your video is uploading, you can customize the title, description, thumbnail, tags, and more.
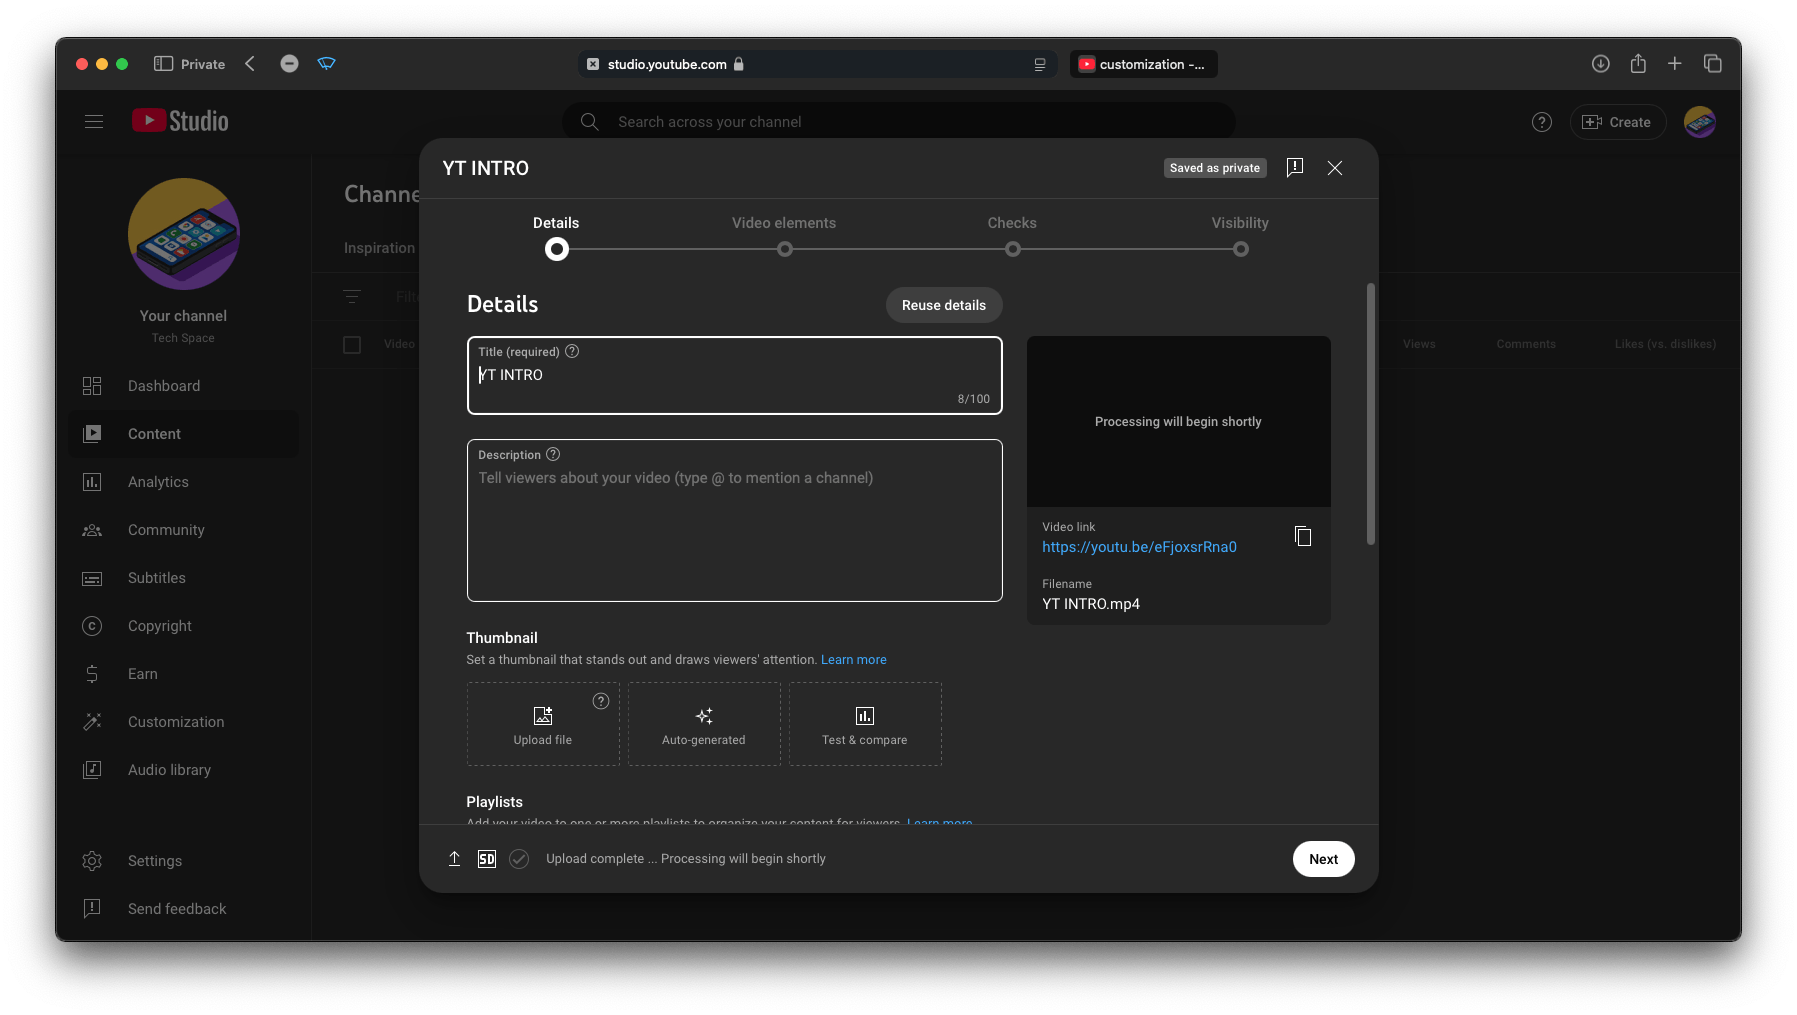
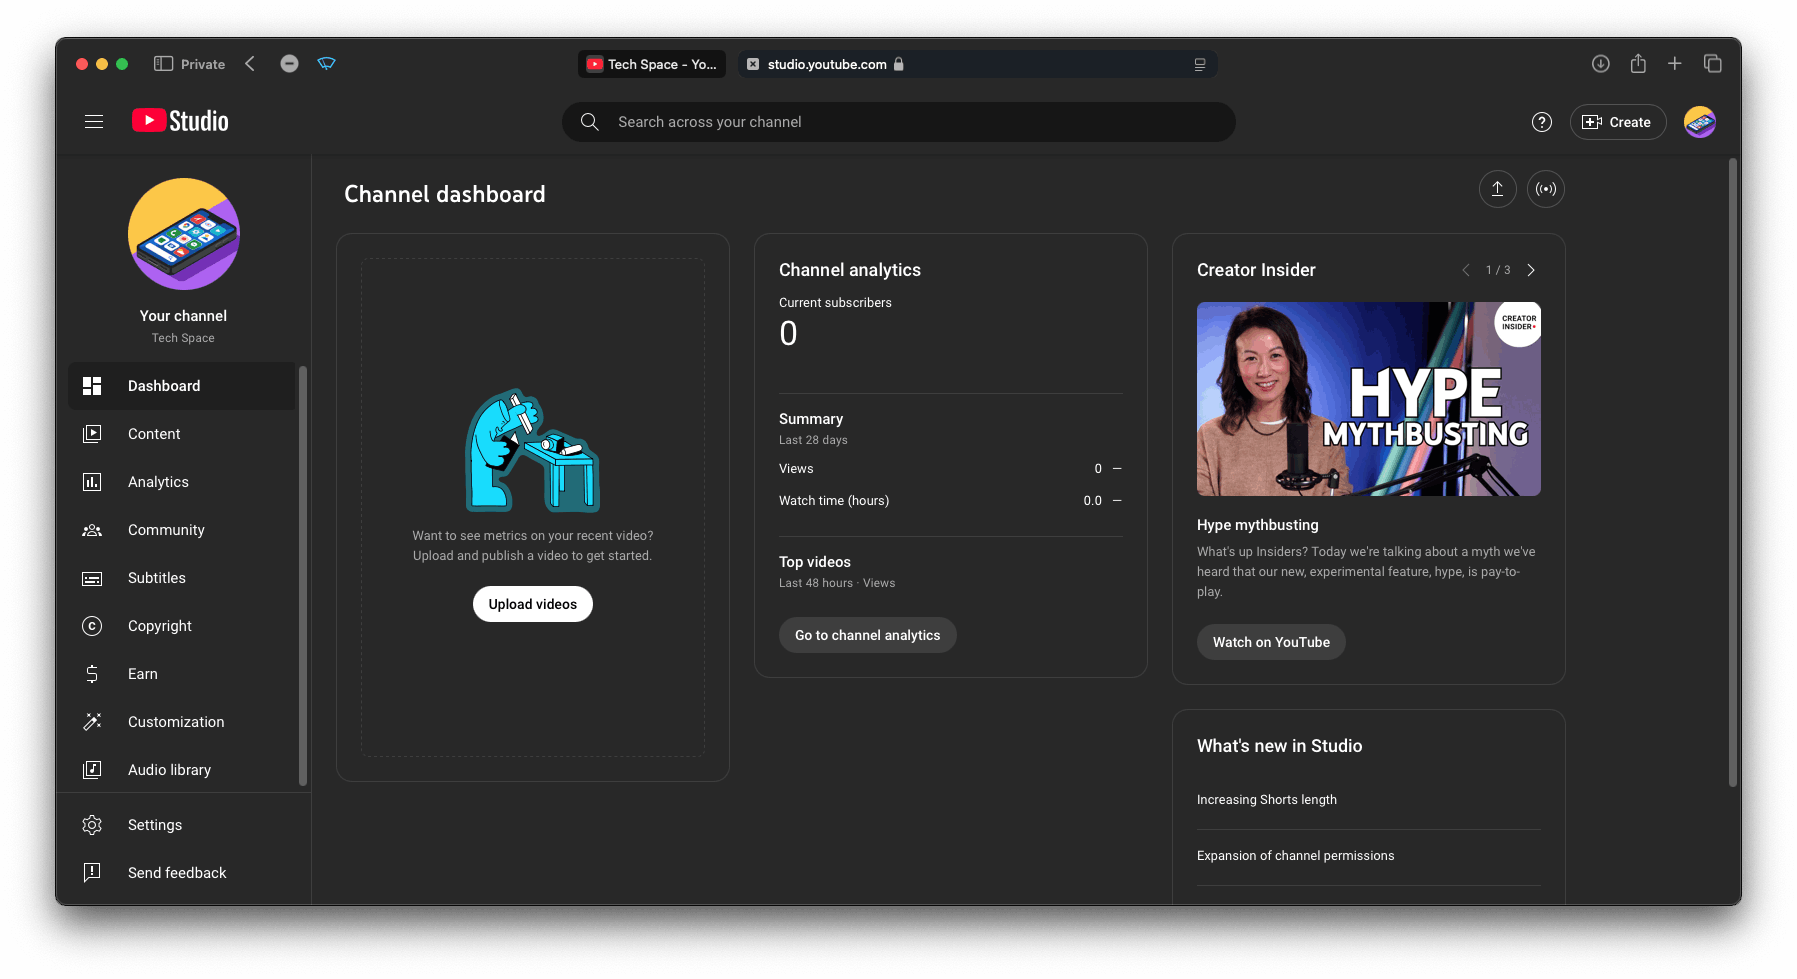
To edit video titles, descriptions, update thumbnails, view channel analytics, and access many other features, simply head to YouTube Studio. All these options are available in one place for easy management of your channel.
You're all set! Start creating videos and uploading content! If you'd like, feel free to check out my channel here. Just click "View Channel" and you can hit the subscribe button if you're interested in the videos I make—I’d really appreciate it!